Hello, beautiful ladies. Again, a stylish and useful crochet bag model with free pattern instruction. Our crochet bag with bamboo handle looks more suitable for summer. Of course, you can make a design suitable for different winter seasons by making color changes or making arrangements in the instructions.
Pattern instructions do not belong to us. We apologize for any inconvenience or shortcomings.
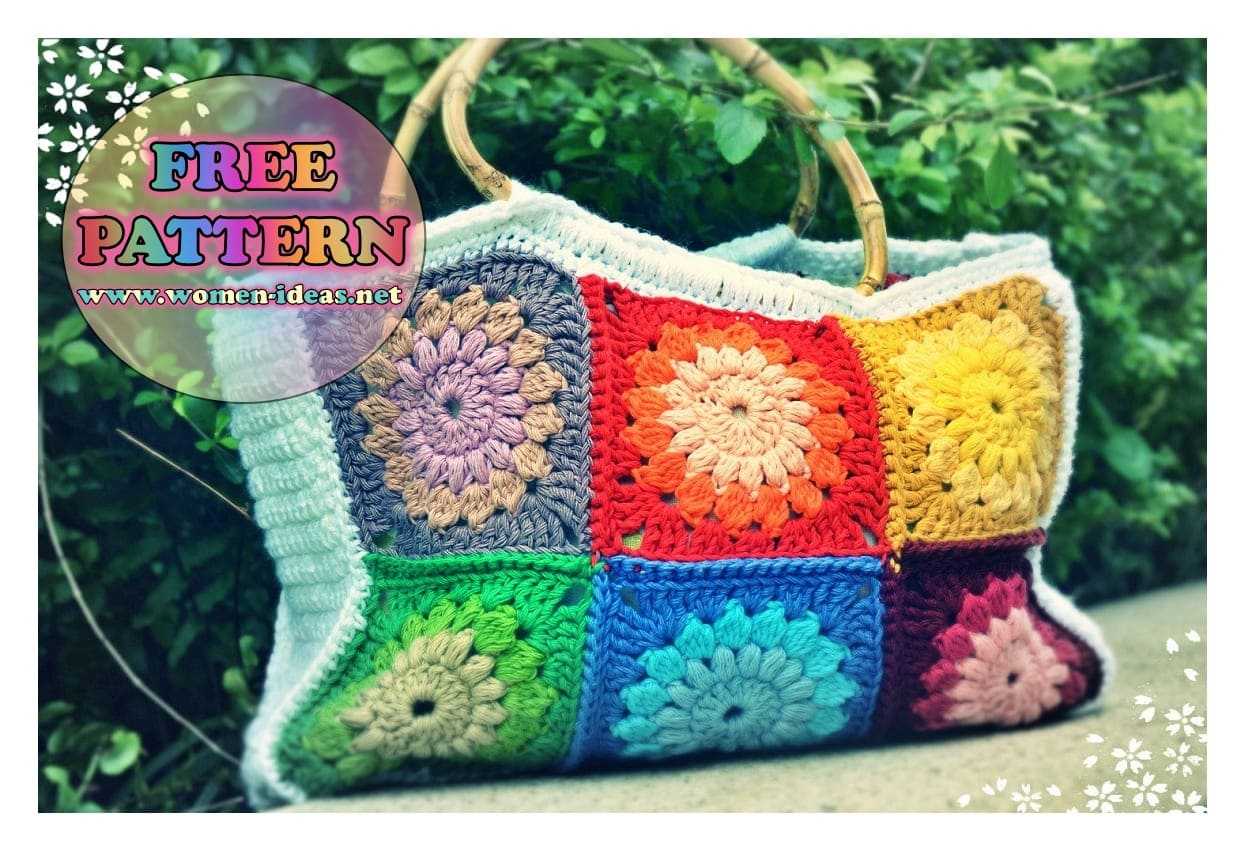
For this bag you will need:
*12 crochet squares hooked together in 2 sets of 3×2 rows and columns.
*Base color thread of both cotton and acrylic in same shade.
*Lining cloth.
*Wooden handles/handles.
**Note**
1.While joining granny squares i used the SC method, but i changed the thread after every edge to match up with the square. So in the pic above, you see that the mustard square and red square are joined by mustard thread. The red square and the purple one are joined by red thread and so on….
2.I really need to line all my bags – for the only reason that good patterns have some gaps in them. Also i feel the durability of the bag increases.
3.Handles – They reeeeally enhance the final product and also the bag is easier to use. Have tried crochet handles but not like real handles i am afraid.
How to:
Step 1: Assemble your 2 sets of the granny squares
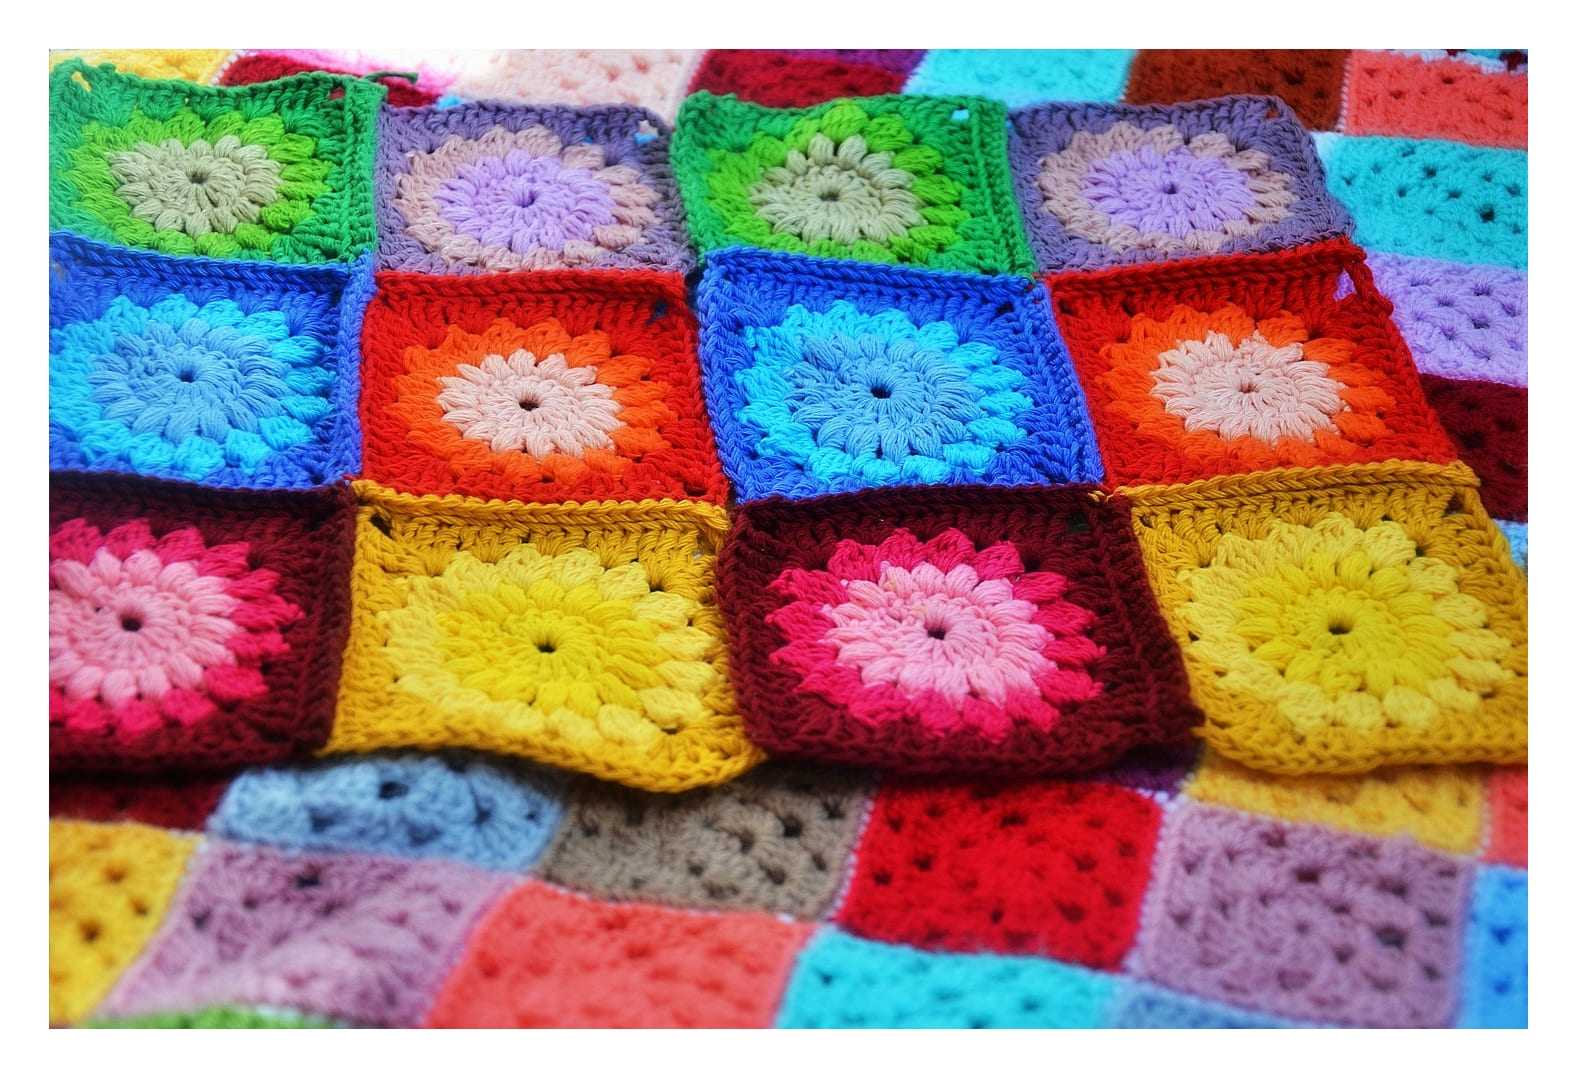
Step 2 : Holding a strand of cotton thread and a strand of acrylic yarn crochet the base and sides. I used Laura Cotton and Stylecraft DK – both in white shades. The base should measure as much as the length of the granny patch and the width is up to you…I used SC again as they form a thick and sturdy base.
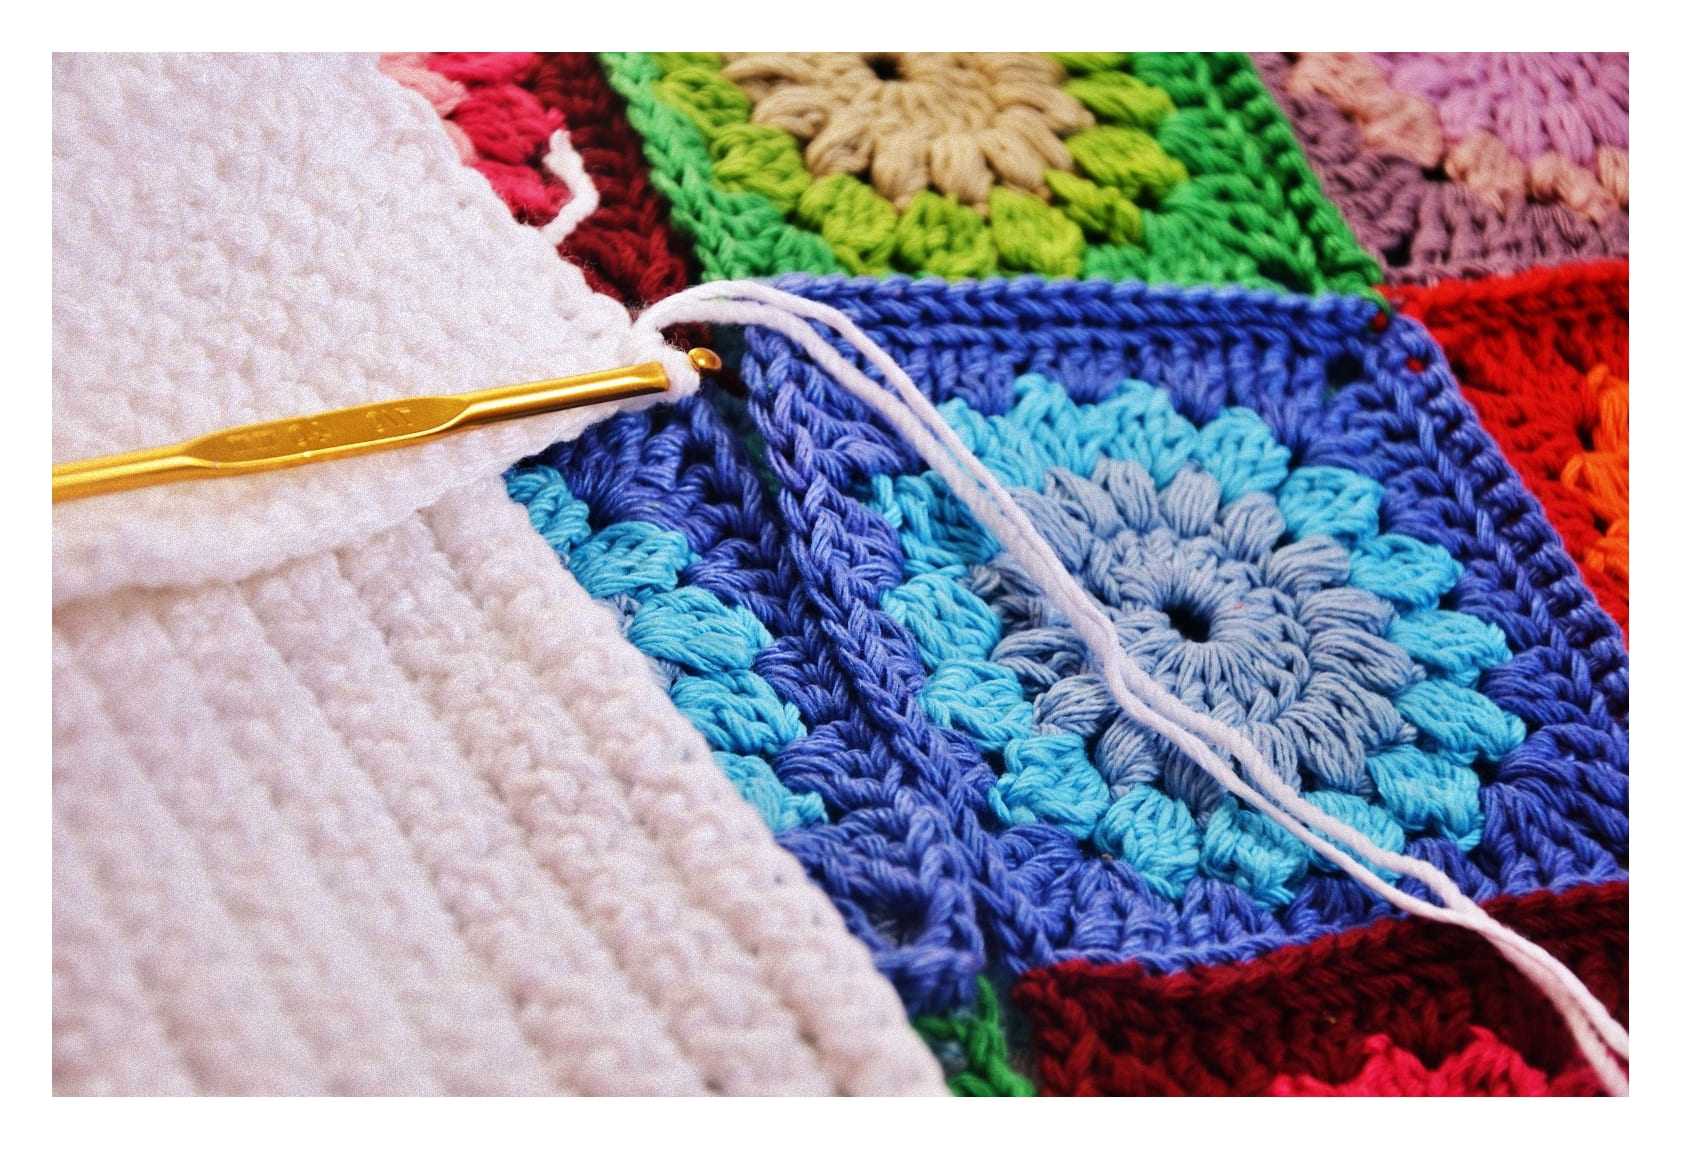
Step 3: Once you are done with the base, do the sides in a similar fashion. Join the threads to any side edge of the base and SC along the side. Continue in this manner till you reach the height of the width of the granny square.. Maybe a pic is more useful than my gibberish!!
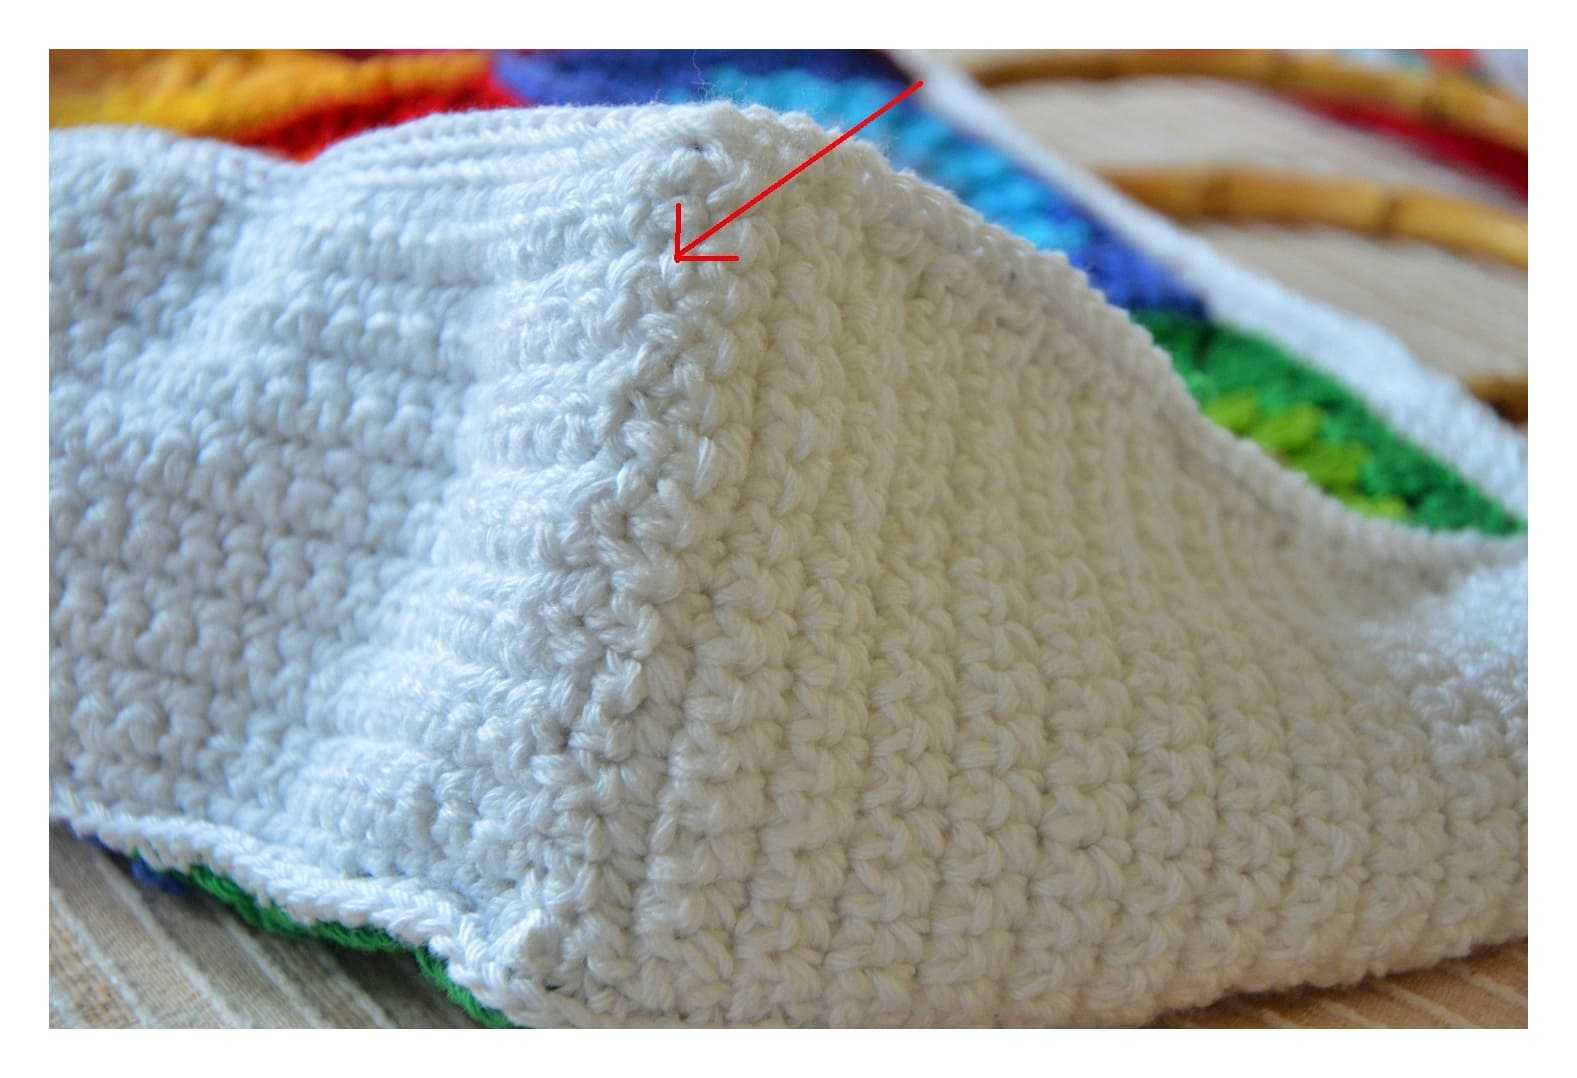
Step 4: Attach the base+side piece to the granny patch with the white color cotton thread again using SC itself.
Step 5: SC with double strands at the top to give a neat finish. I did 2 rows of SCs.
Step 6: Now the difficult part..need to line it.. I am sure there are lotsa tutorials out on the net for this. But i really like THIS as it is explained with examples and i like such explanations 🙂
Now i don’t have a sewing machine(yet) so i had to hand sew this part and it was pretty boring job. But had to get it done right…
Step 7: Attach your handles again with 2 strands and SCs. Do this by YO the handle…
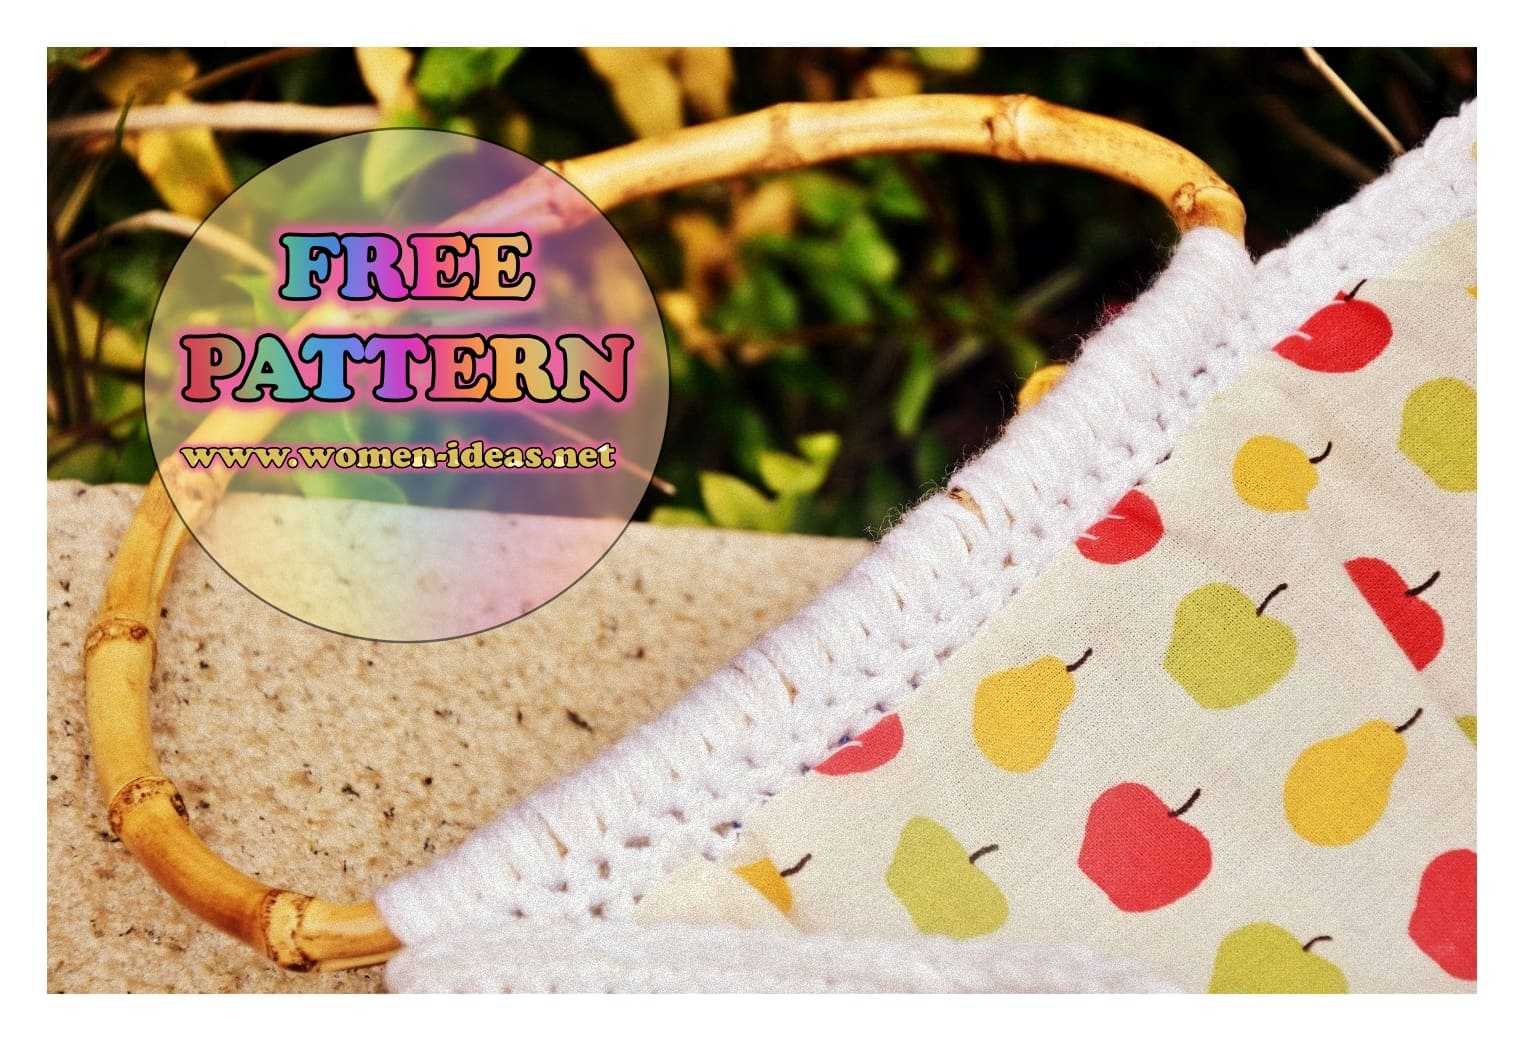
You can do a zip too..but that’s really out of my hands(literally) for now.
There you go, a perfect pretty sunburst bag!
Here’s my favorite square:
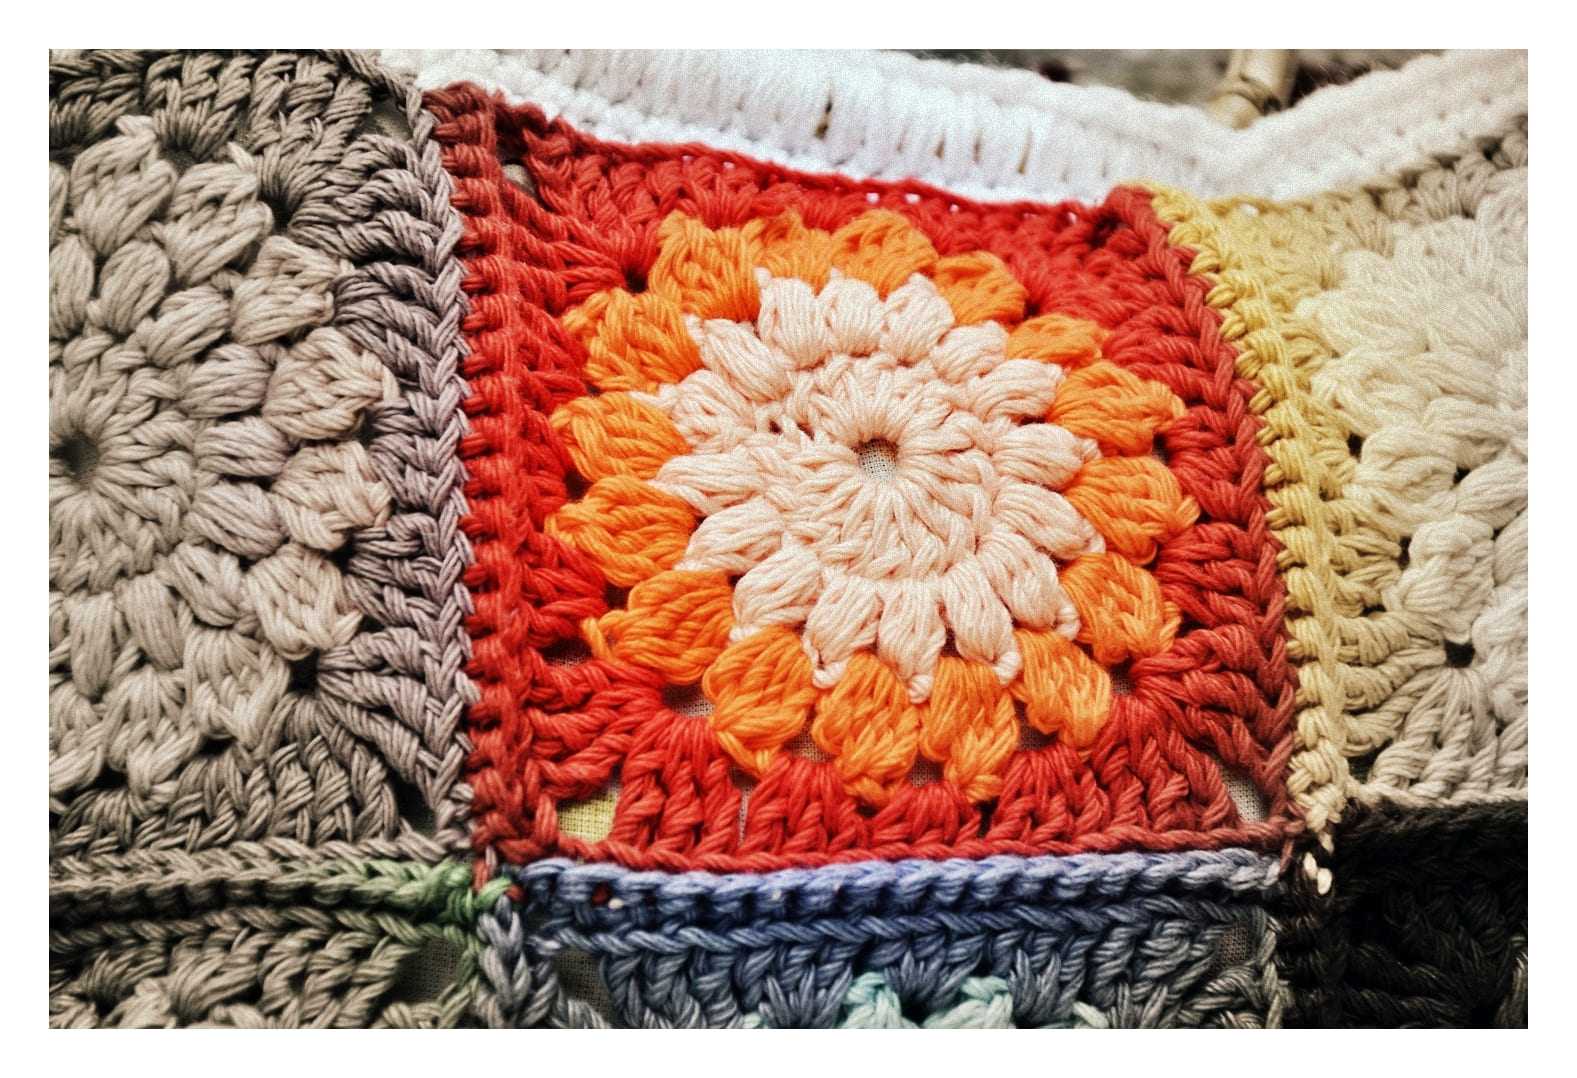
Hope you guys could follow what i have blabbered! If you do need any more info please feel free to pop a query!
Now i leave you with a riddle. What can you make out of the below picture? Fabric, paper rolls, or..let me know 🙂

Leave a Reply